In this post I will go through the installation of Linux Mint from start to finish.
The minimum hardware requirements are:
- 4GB of RAM
- 20GB of disk space (although the more the better depending on the size of your drive).
If you are duel booting with Windows on the same physical hard drive. Have an unformatted partition ready on that drive. Linux Mint will detect the free space and install there. - 1024×768 is the bare minimum screen resolution. Today most graphics adapters and monitors allow a much higher resolution.
Download the installation ISO from here.
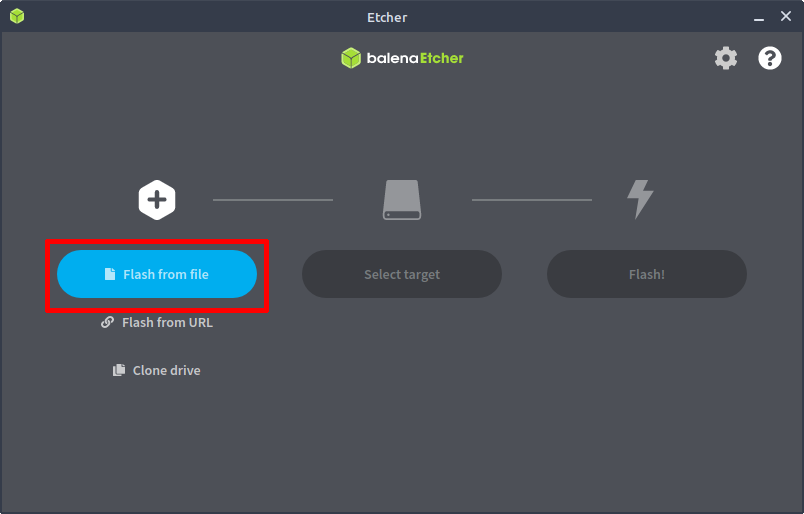
You will need to use a USB flash drive to prepare the installation. I use and recommend balenaEtcher. It’s very simple to use as seen in the image below.
- Install balenaEtcher on your computer and run it
- Choose the Linux Mint ISO file you downloaded earlier
- Select your target flash drive
- Flash the drive
Installation Media and Software
Next put the flash drive in a USB port on your computer and reboot. As it boots, hold down either the F2, F10, Escape key or which ever key gets you to the computers Bios screen. In the boot menu choose the USB flash drive. (Bios screens appearance will vary depending on the PC).
Bios setup
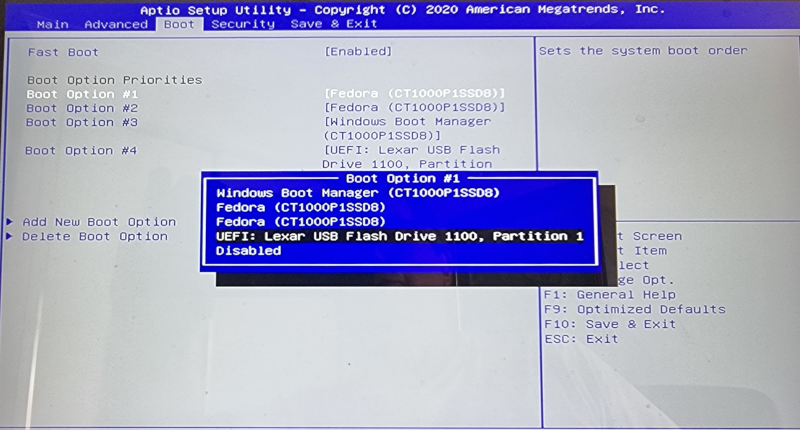
Save the changes in the Bios and reboot. Linux Mint will boot in live mode. This means it is not installed yet but running from the flash drive as a demo.
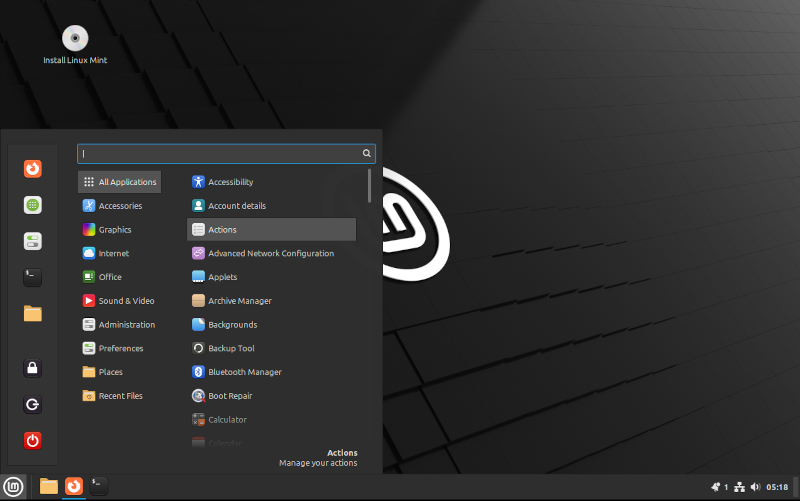
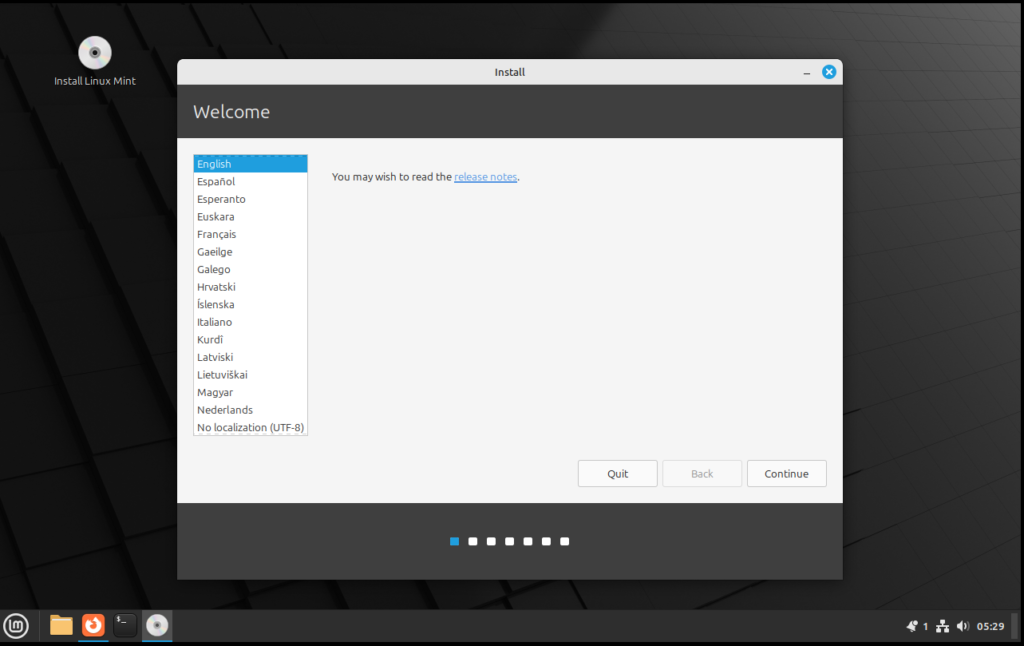
To install Linux Mint to the hard drive, double click on the CD icon in the top left corner of the screen. You will get the following screen to choose your preferred language:
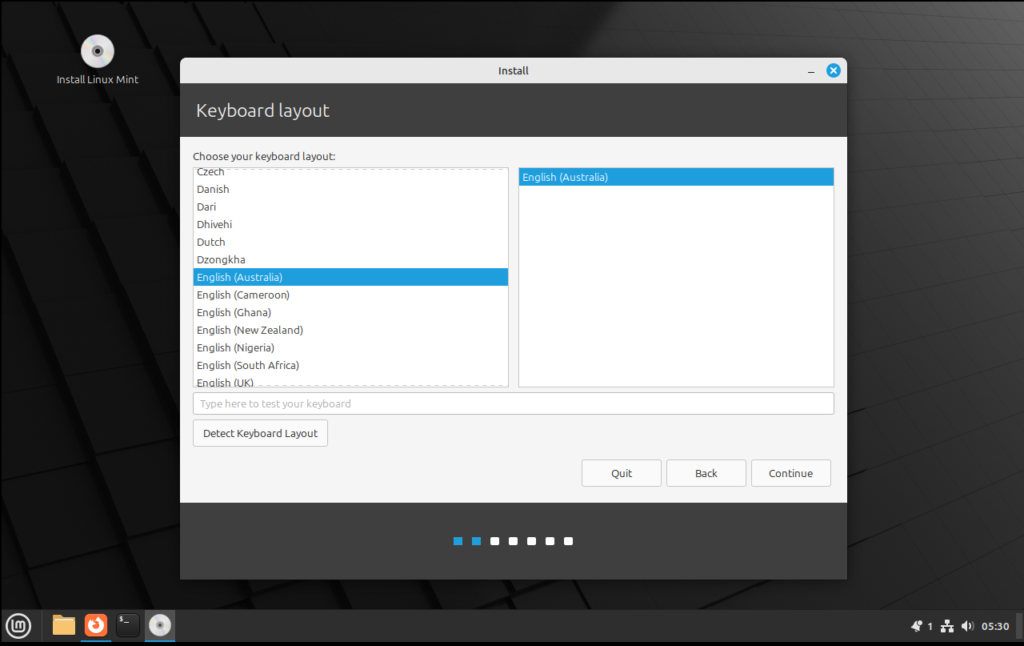
So next choose your keyboard layout:
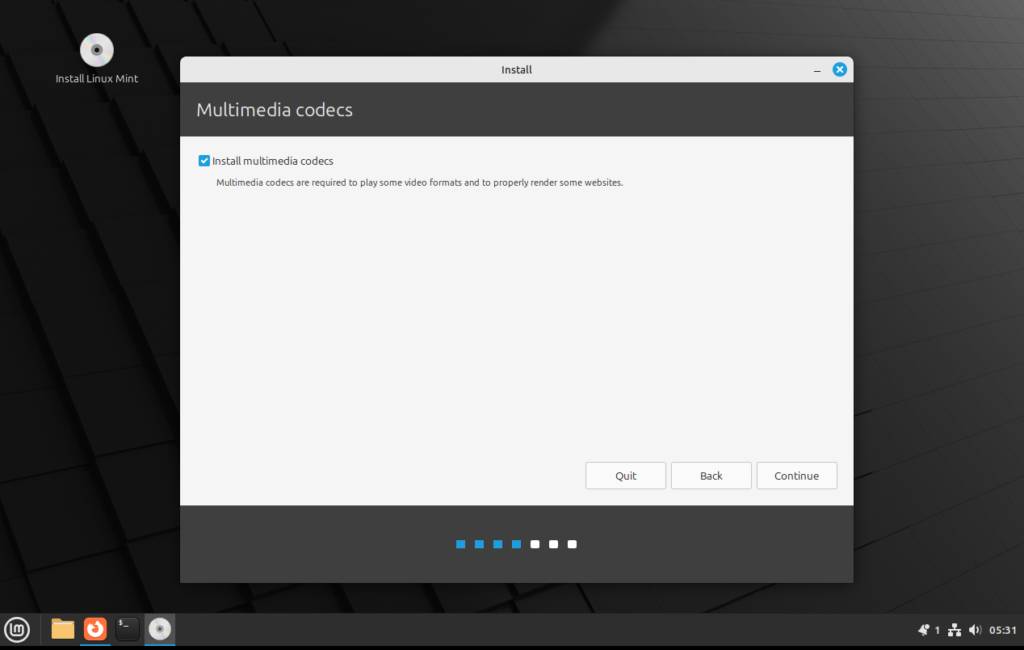
Tick the box in the next screen to install Multimedia Codecs because they’re important for some video formats.
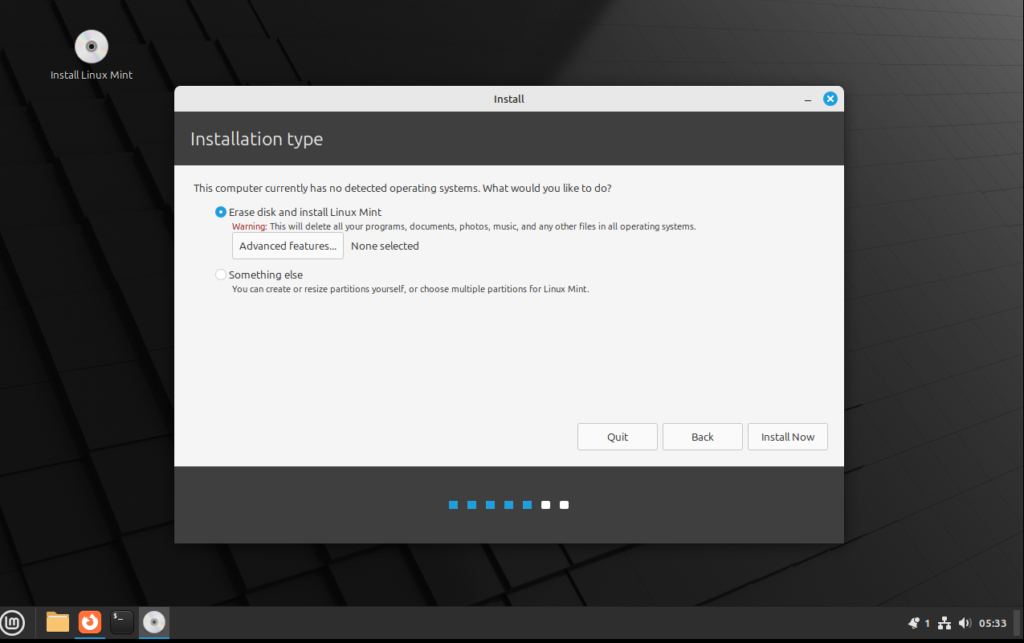
The following screen is the disk installation screen. If your using the entire drive space leave it at default. If you want an advanced disk setup for your partitions Choose “Something Else“
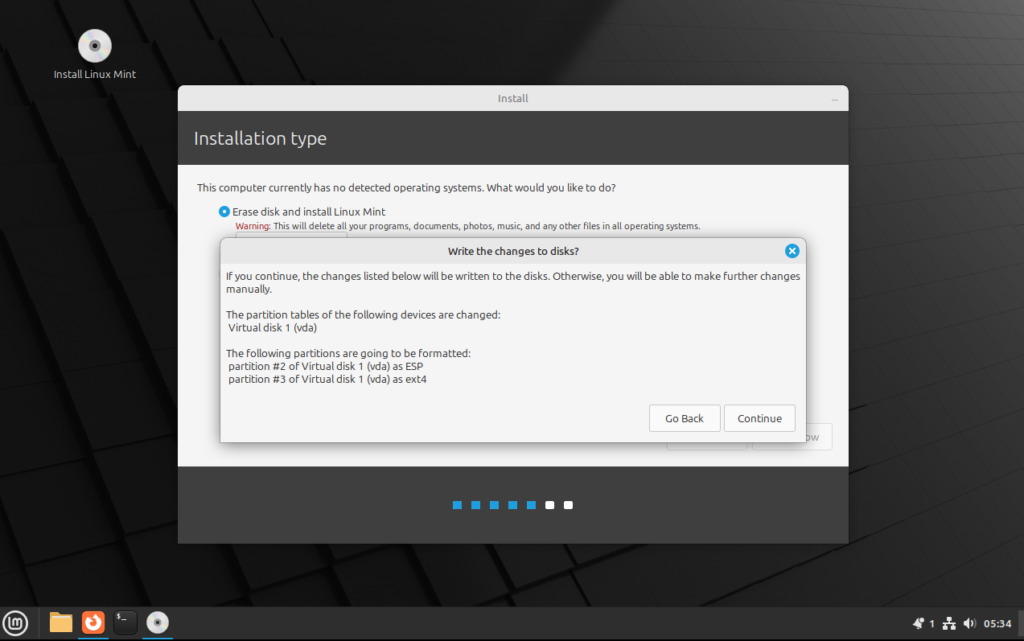
The next screen confirms you want to write the changes to your hard disk. If you are sure you have selected the right option, click Continue:
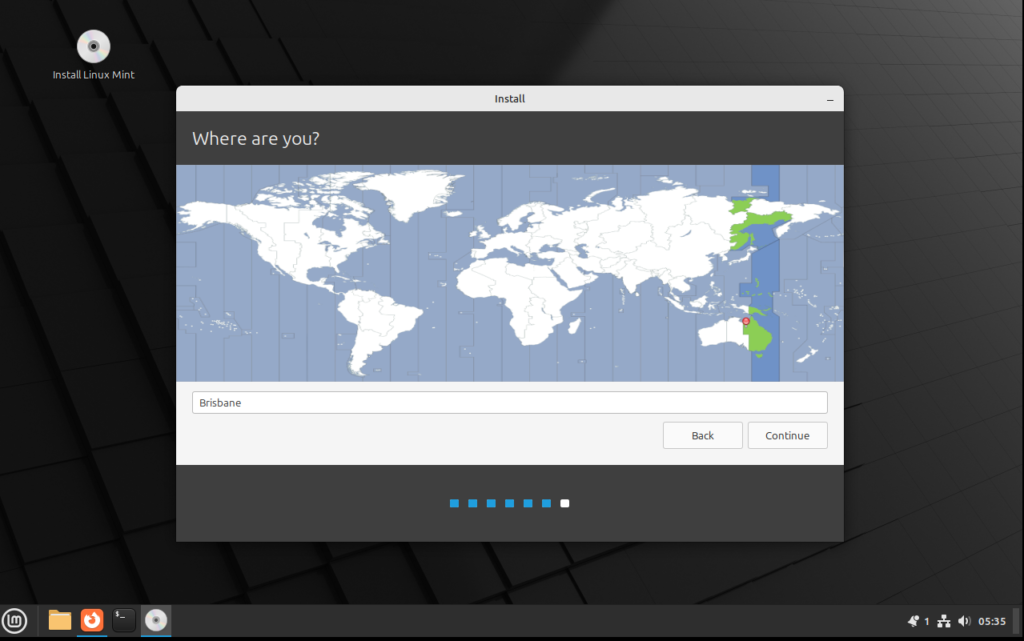
Now click your location on the map:
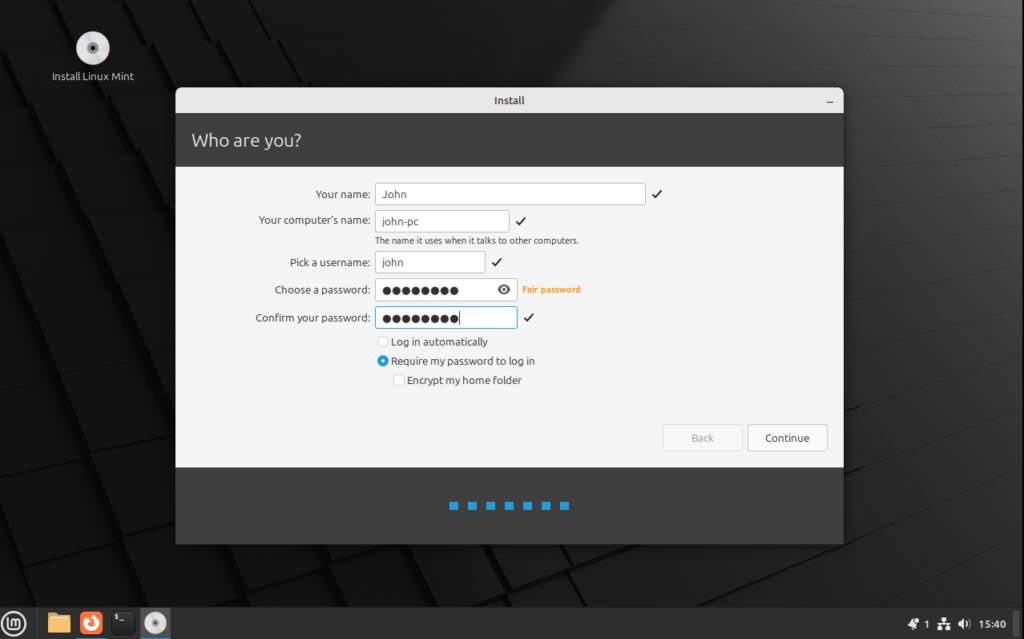
Enter your name, computer name, username and password. Because security is important (make it a good password with UPPER, lower case lettors, numerals, @ symbols)
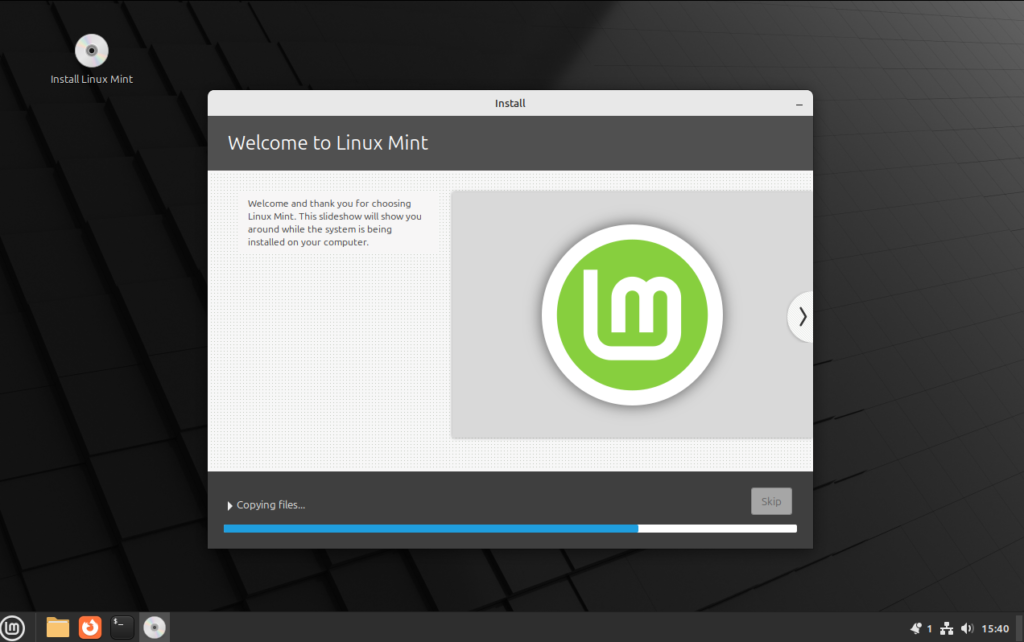
And now, let the Linux Mint installation do its thing and install on your system. (The install time varies depending on various factors)
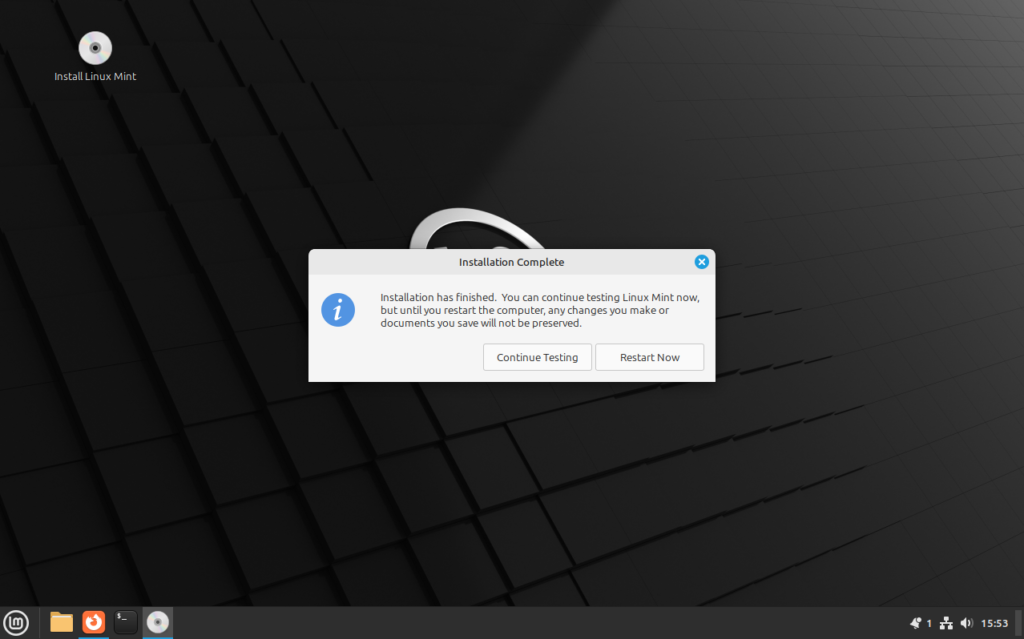
Next click Restart Now and that’s it. (It will remind you to remove the installation media)
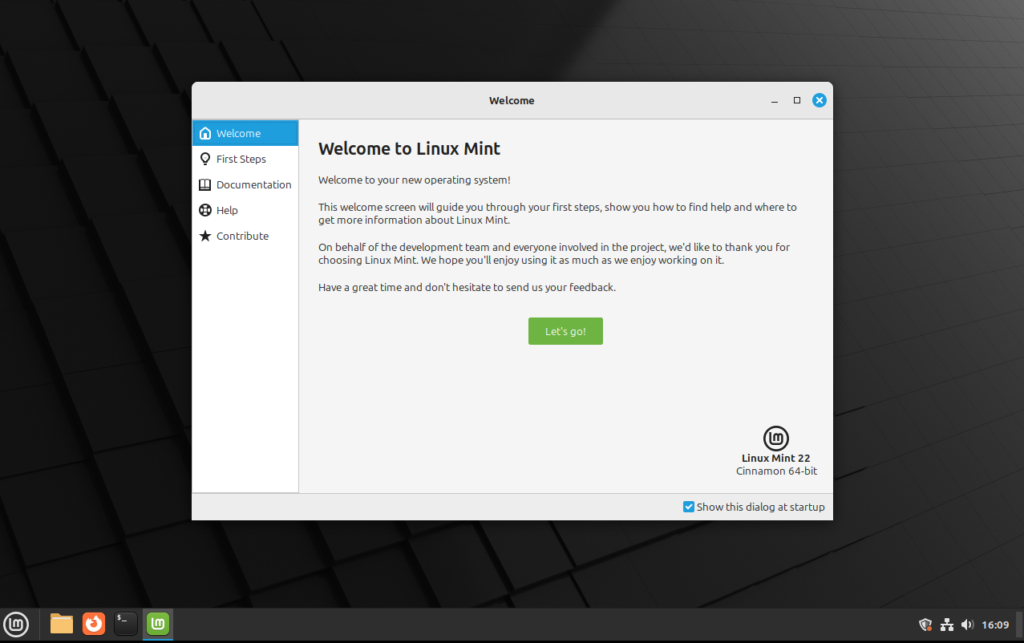
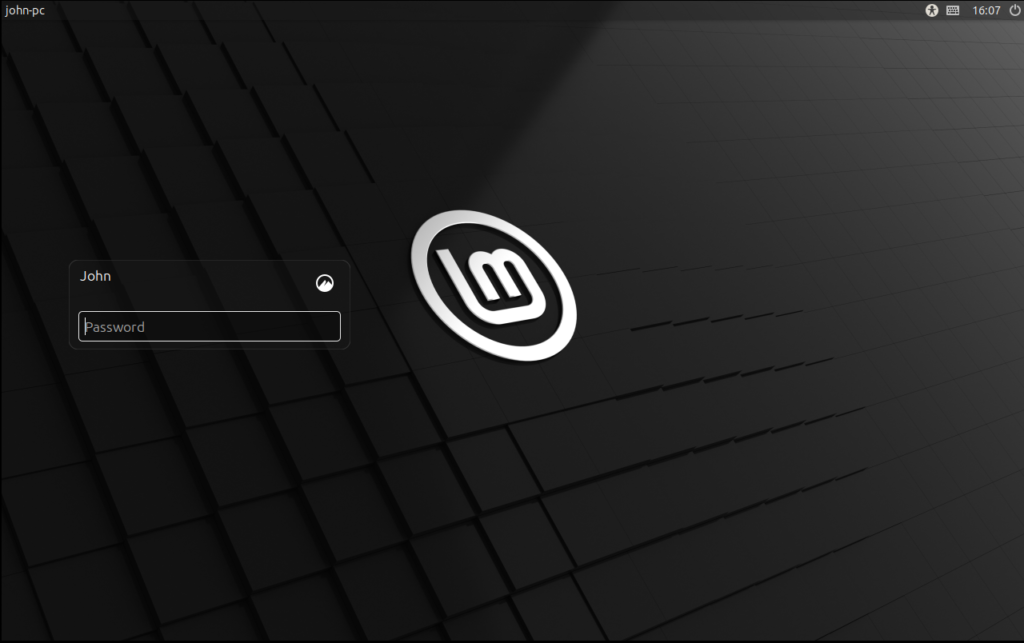
Welcome to your new Linux Mint and now all that’s left to do is customize and make it your own.
Good luck and enjoy the fun of setting up your new Operating System!